
Today's post is all about making your own paper rosette templates.
I don't know if it's just me or some of you also have trouble making perfect rosettes. If they don't look perfect I'm not a happy crafter and I can't sell them on any my projects either!
Often when making my rosettes, they would pop back up or out from under my hands and sometimes getting the center glued in left me wishing I had two more hands. I was not happy with how some of them would come out either. The pleats sometimes were uneven or they were not evenly shaped. If I don't like the way it looks, my customers won't either and they won't buy that item.
Anyway, some time ago I looked on YouTube and Pinterest and could not find anyone who came up with useful tools to make them any easier or better to make. Alot of the videos I viewed, the girls held the paper ring down with their hands and then proceeded to struggle squeezing it together, evening out the pleats and glueing on the centers all at the same time, the same way I was struggling to do.
So I set out on coming up with a better solution that made them not only perfect every time, but also made them faster and easier to make. I came up with the idea to make some kind of ring to hold the paper in place so I could distribute the pleats and glue on the center punchouts. But what to use? It had to be stable, clustered together in different sizes and easy to store (I store them in an oversized Ziplock bag and I hang the bag on the side of the shelving next to my desk) So I tried cutting out a circle on foamcore and whalla! It worked!
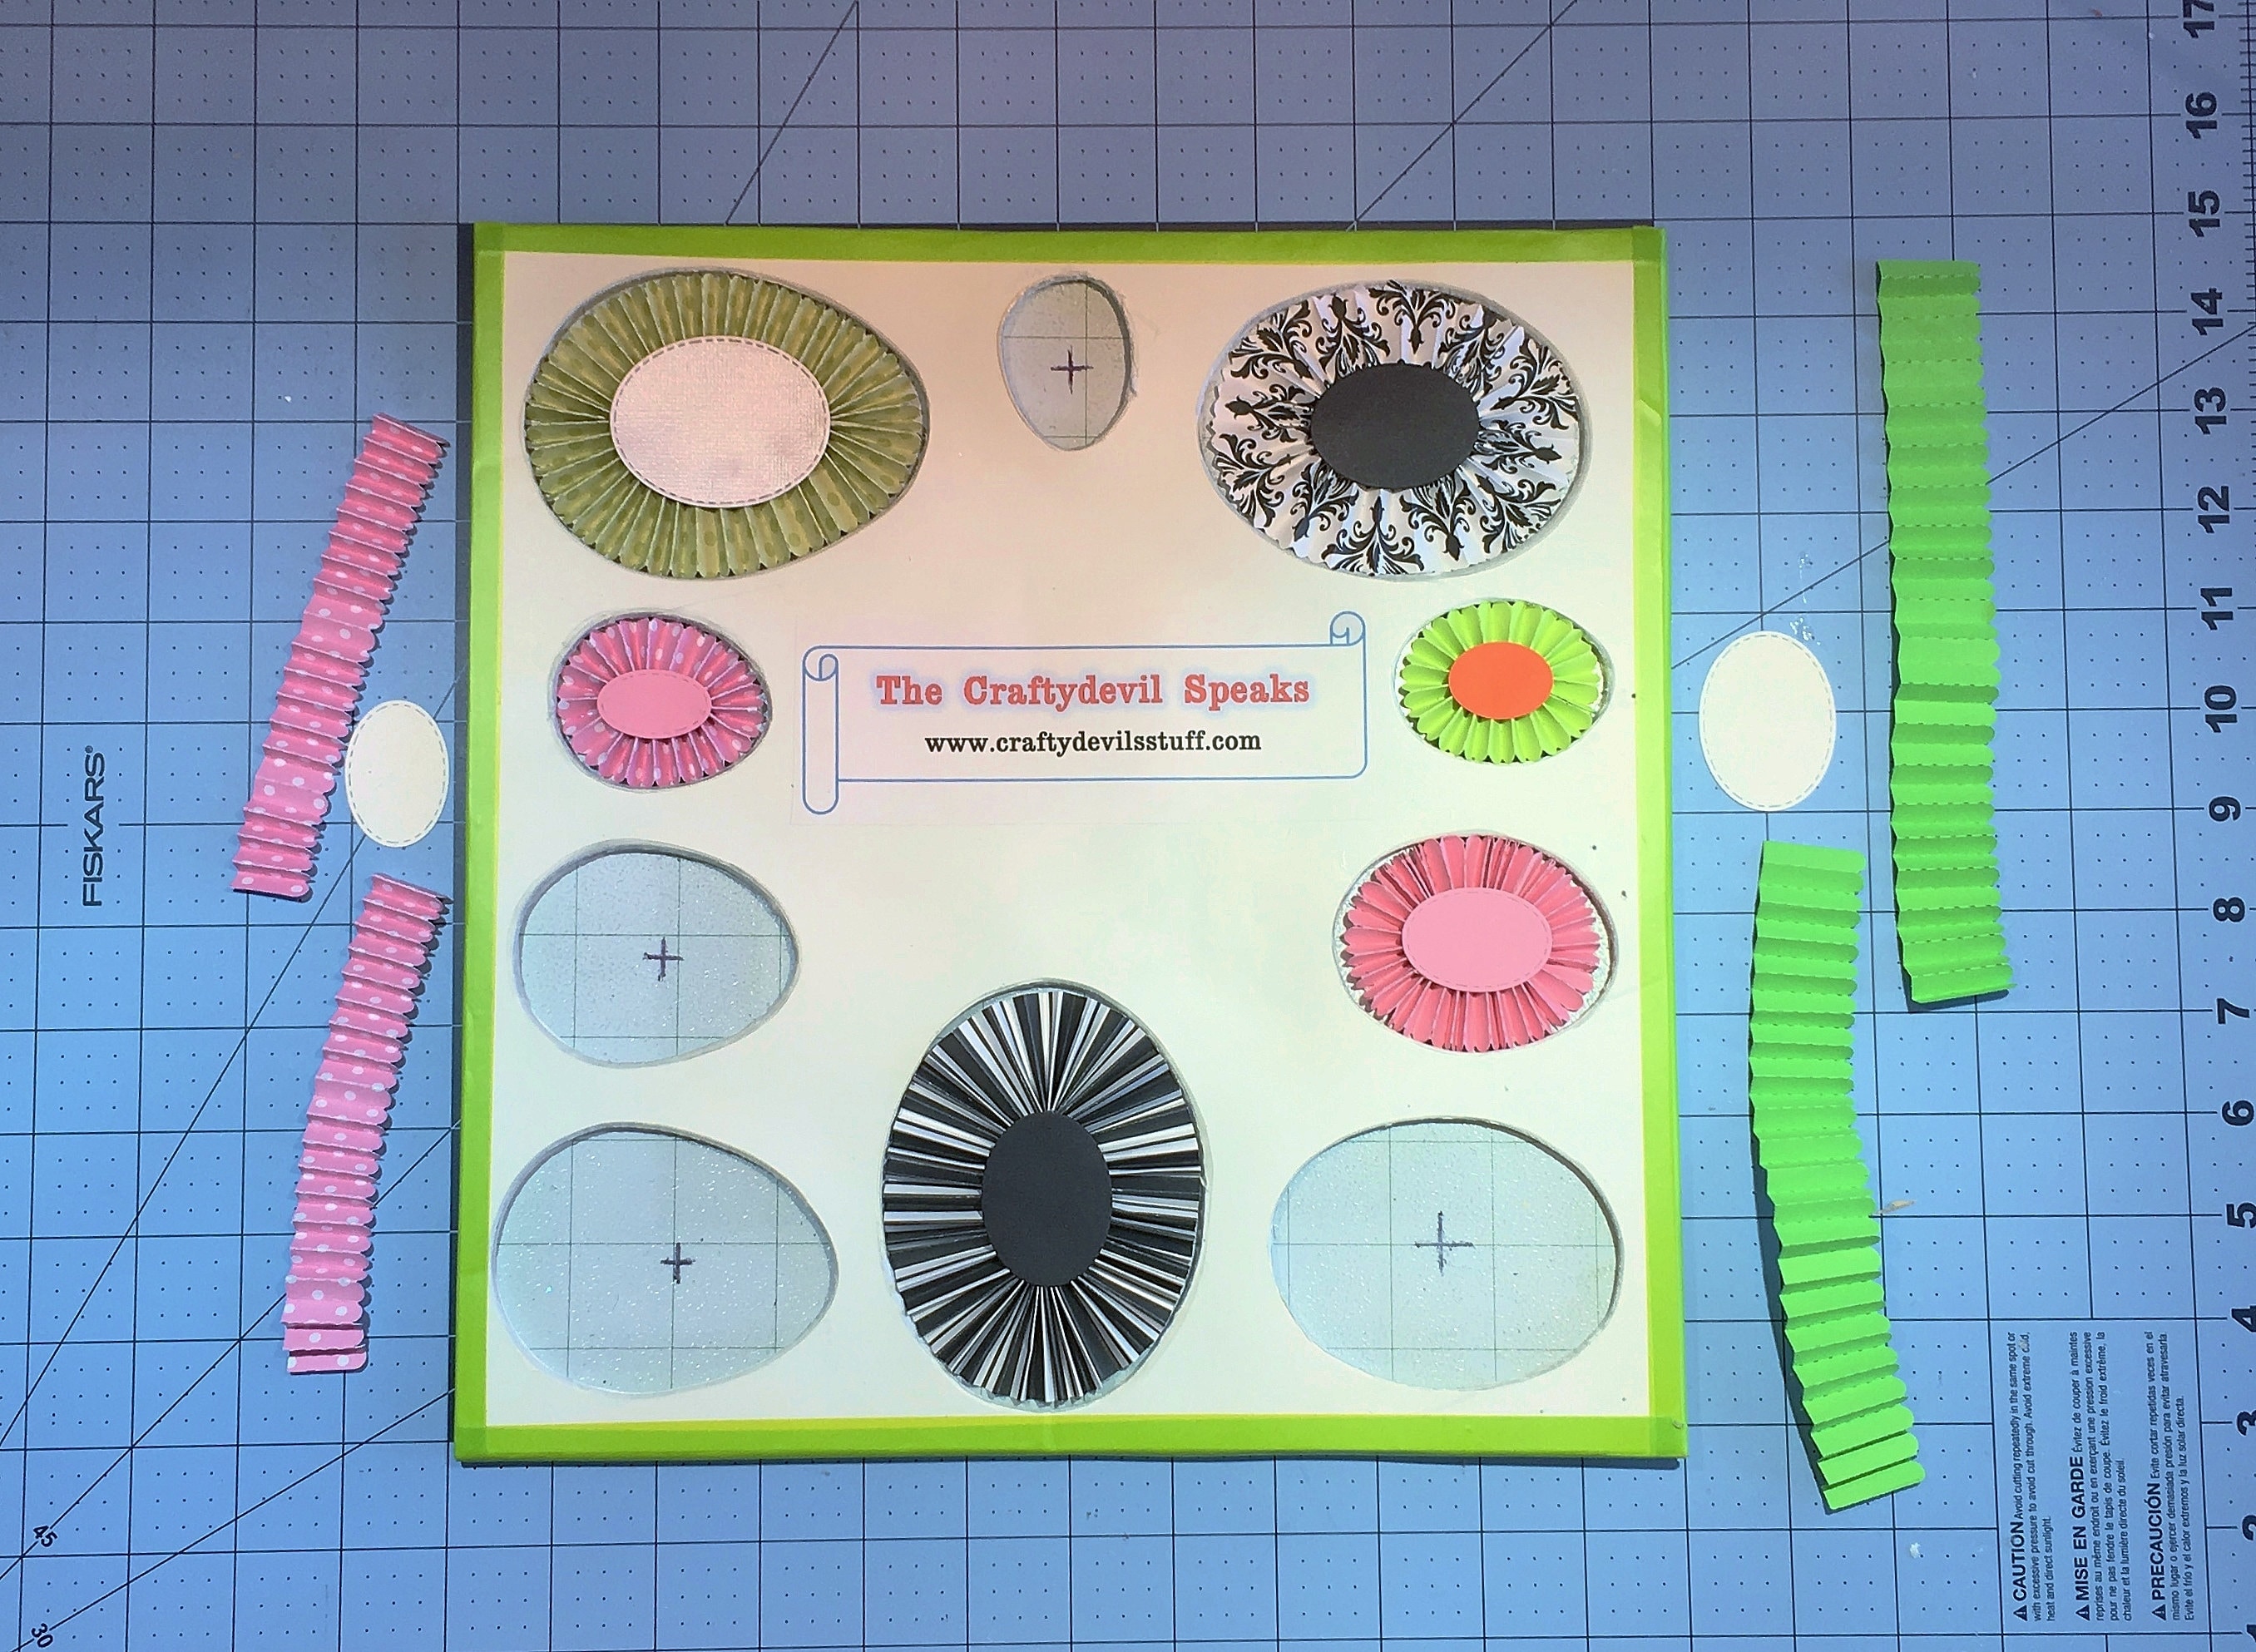
I made my first template with both circles and ovals on one board and I have been using it alot ever since. I realized I had discovered something unique (as far as I know) and that I really needed to share this idea with everyone else. I have since made some discoveries that led to some improvements on my design too, which are in the video.
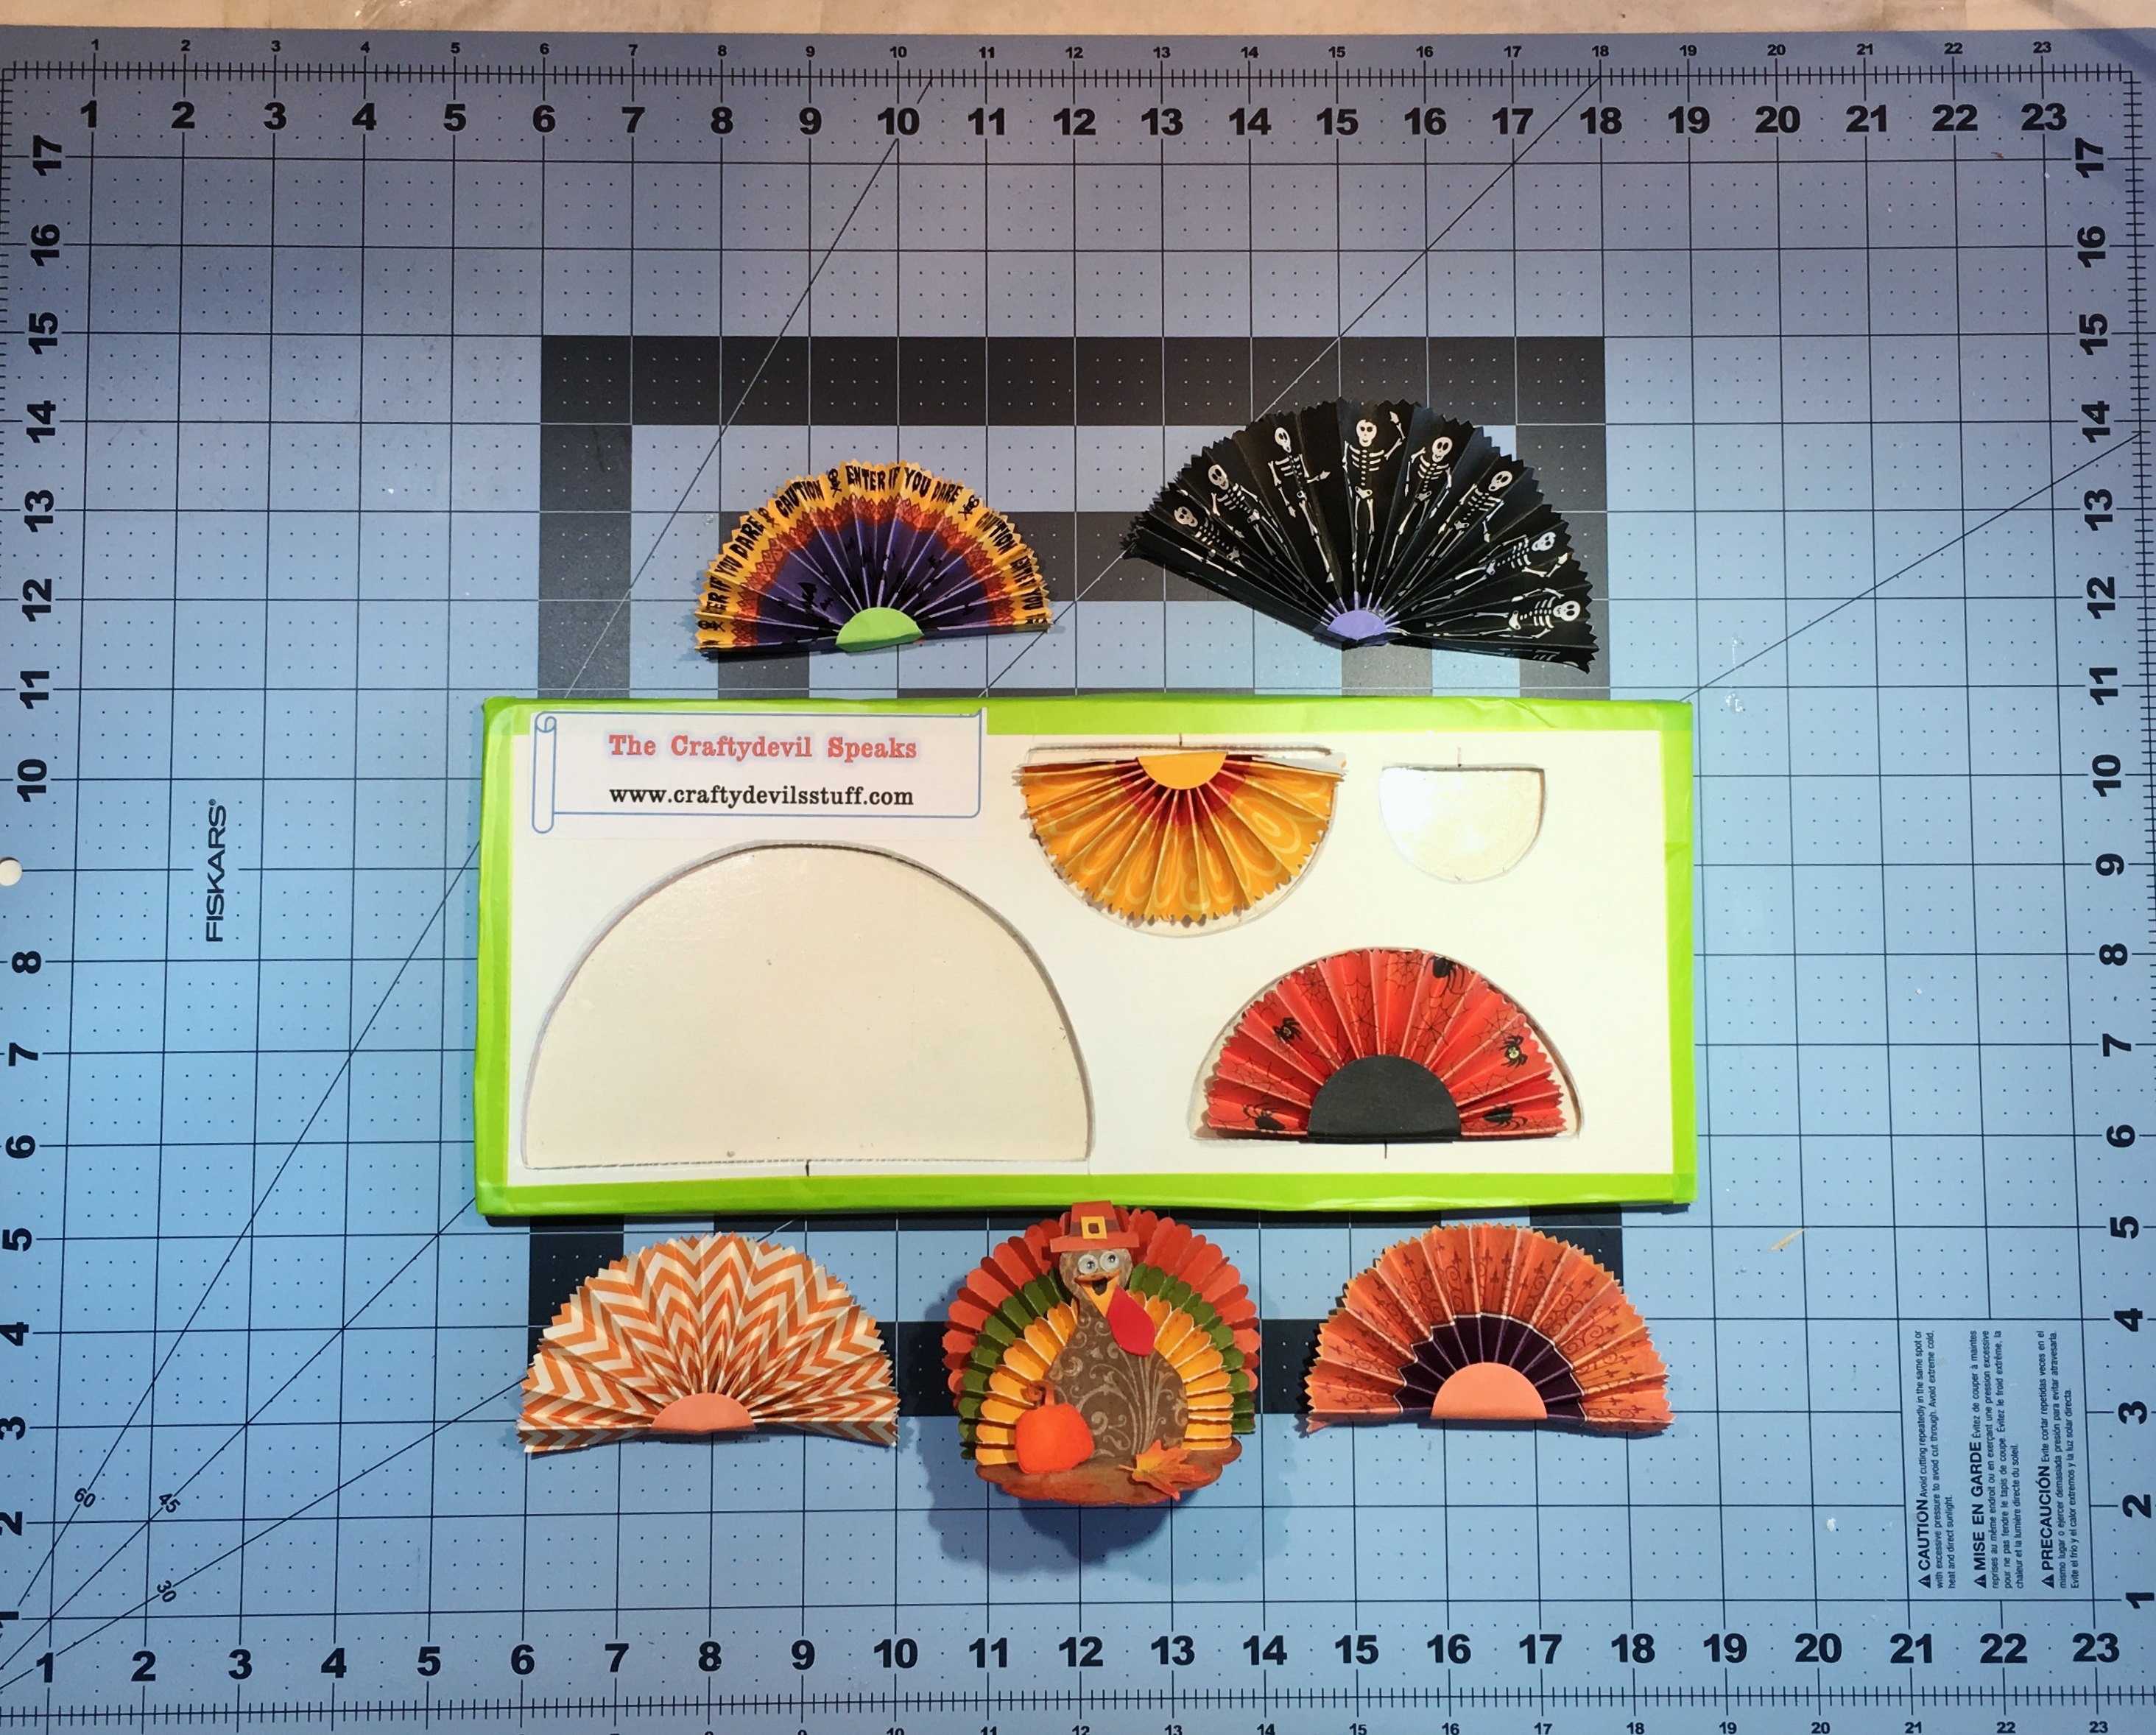
So, today I finally posted my YouTube video showing you how I made my templates in different shapes and sizes. I made a variety of boards, one with circles, one with ovals and egg shapes and one that makes fan shapes (haven't tried hearts yet, but I will eventually) and I'll also show you how to use them.
To start, you will need to get your supplies ready.
You will need:
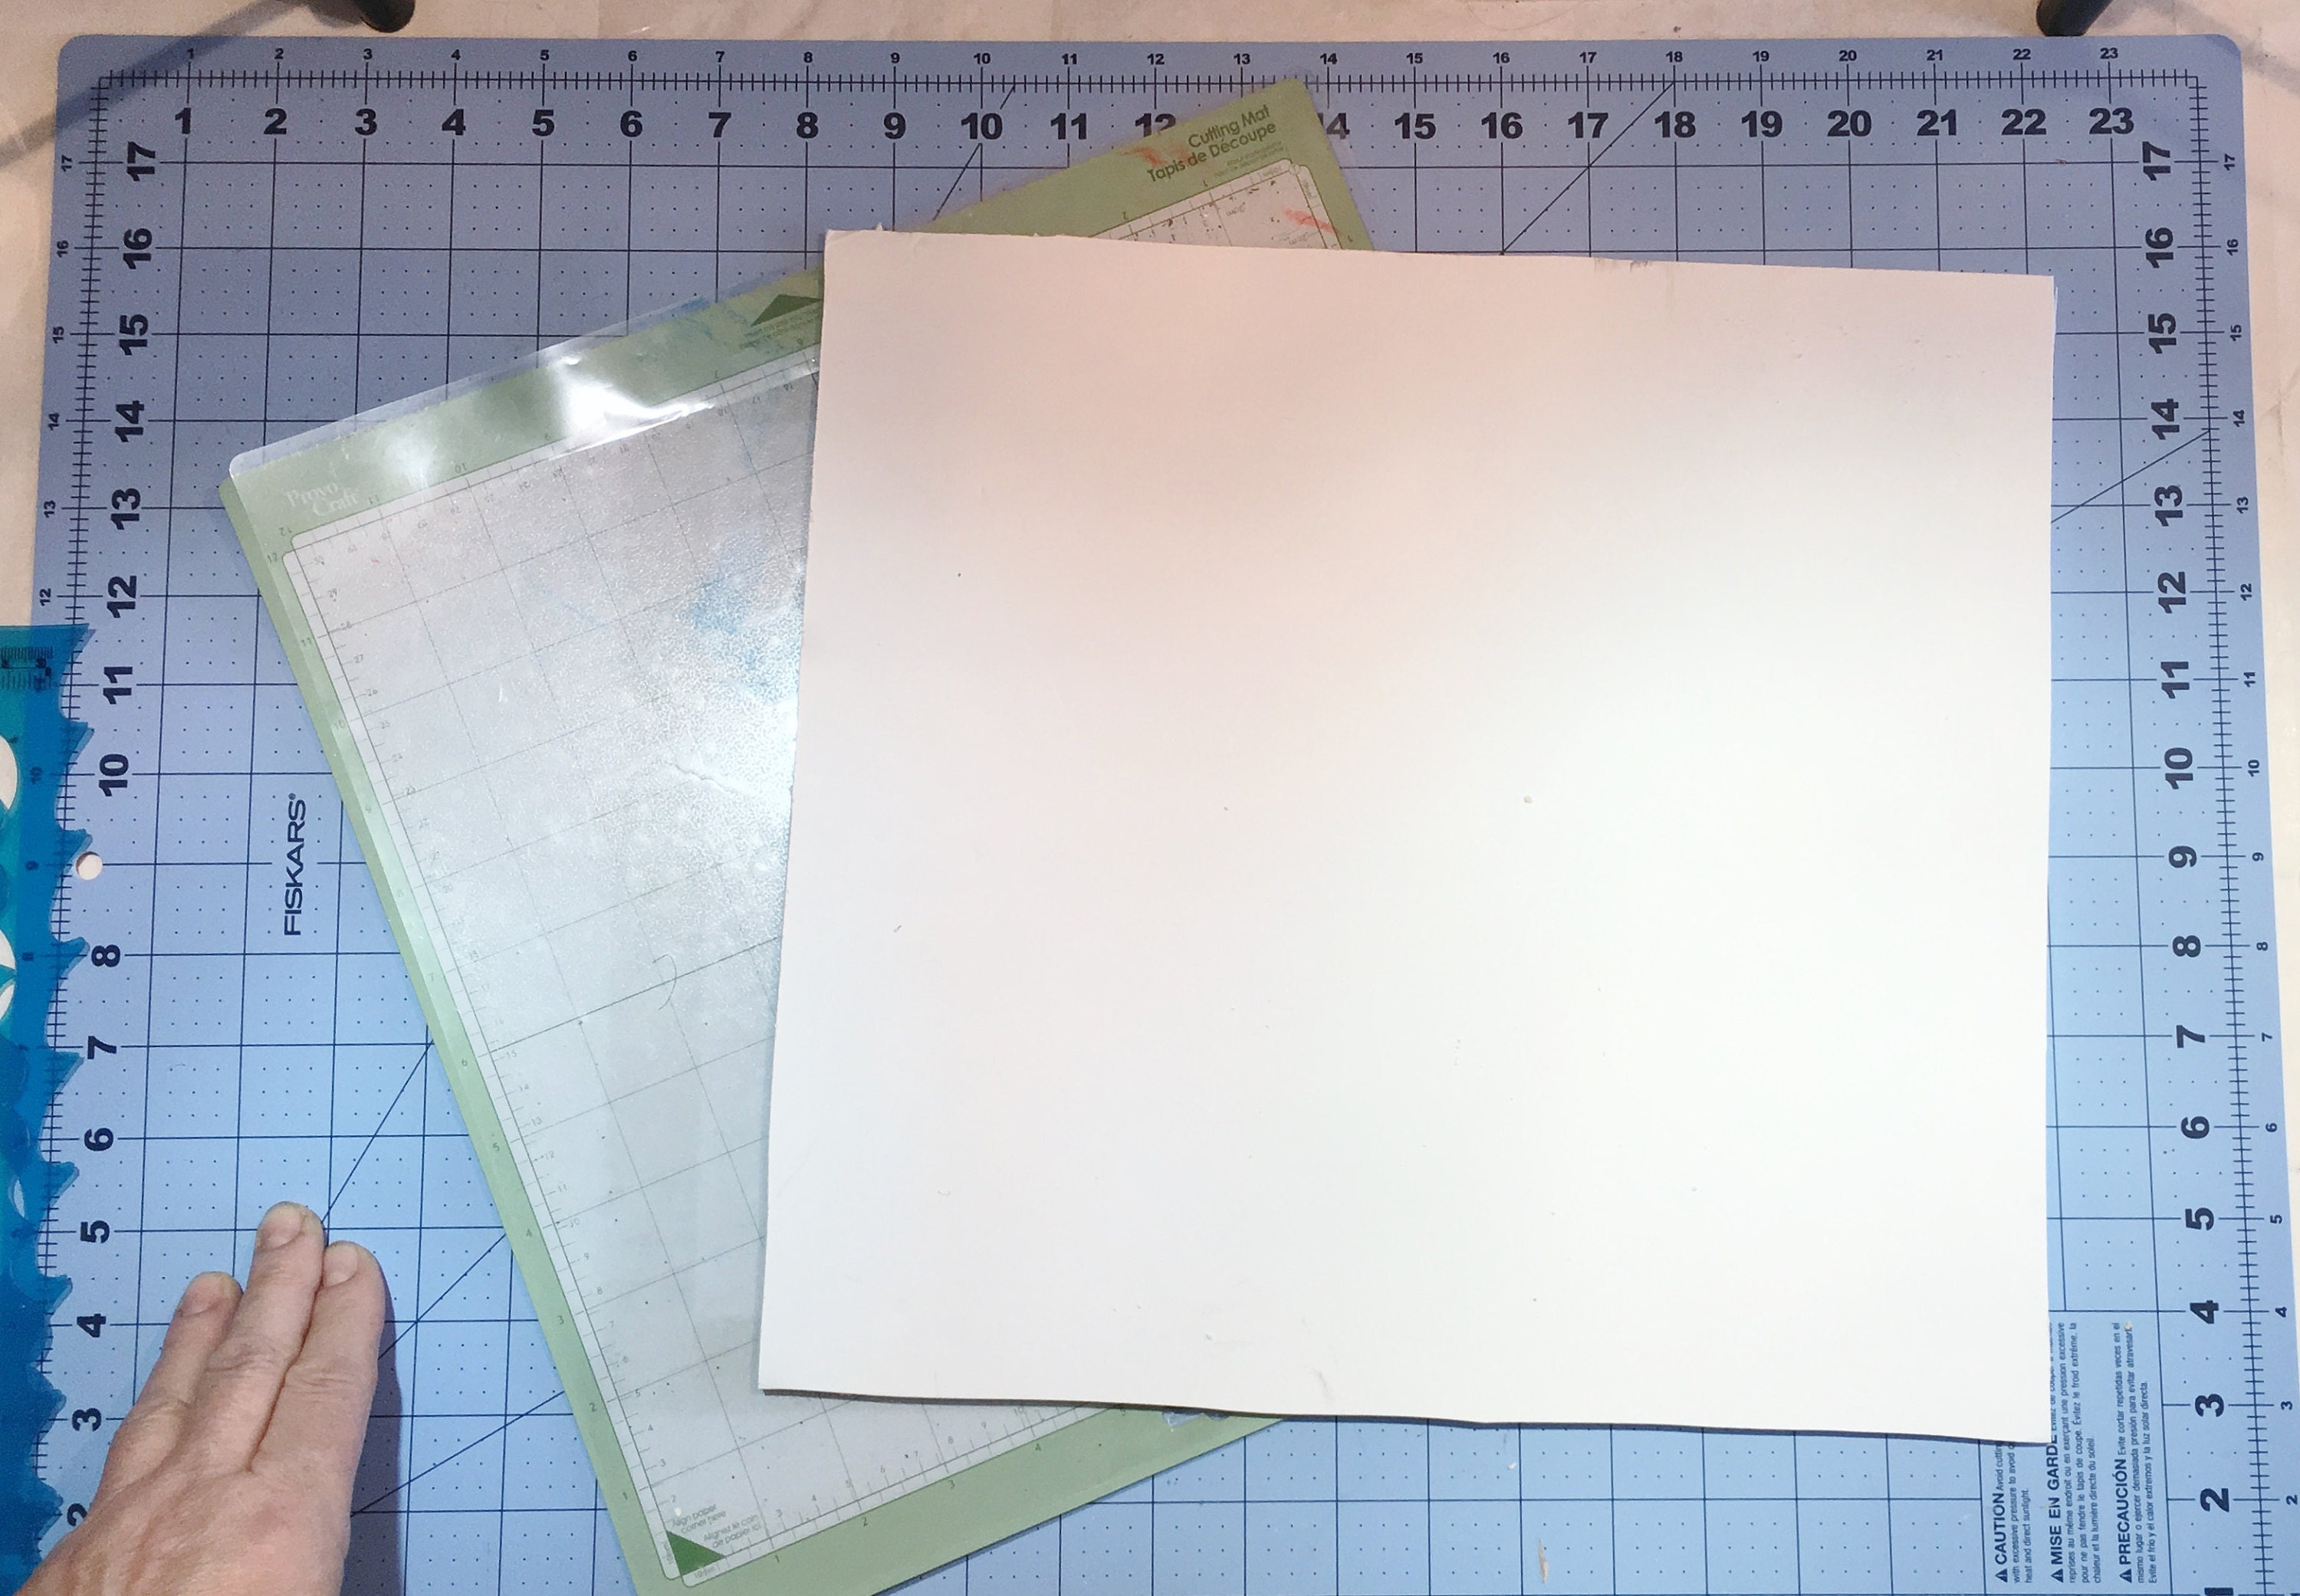
- Foamcore 12" x 12" - (I get mine at Dollar Tree)
- Non-stick backing-I use old Cricut mats, but you can use a silicone mat or thick cardboard covered on one side with a piece of heavy mylar or heavy table vinyl (sold by the yard at craft stores or the clear cover from a 3 ring binder)
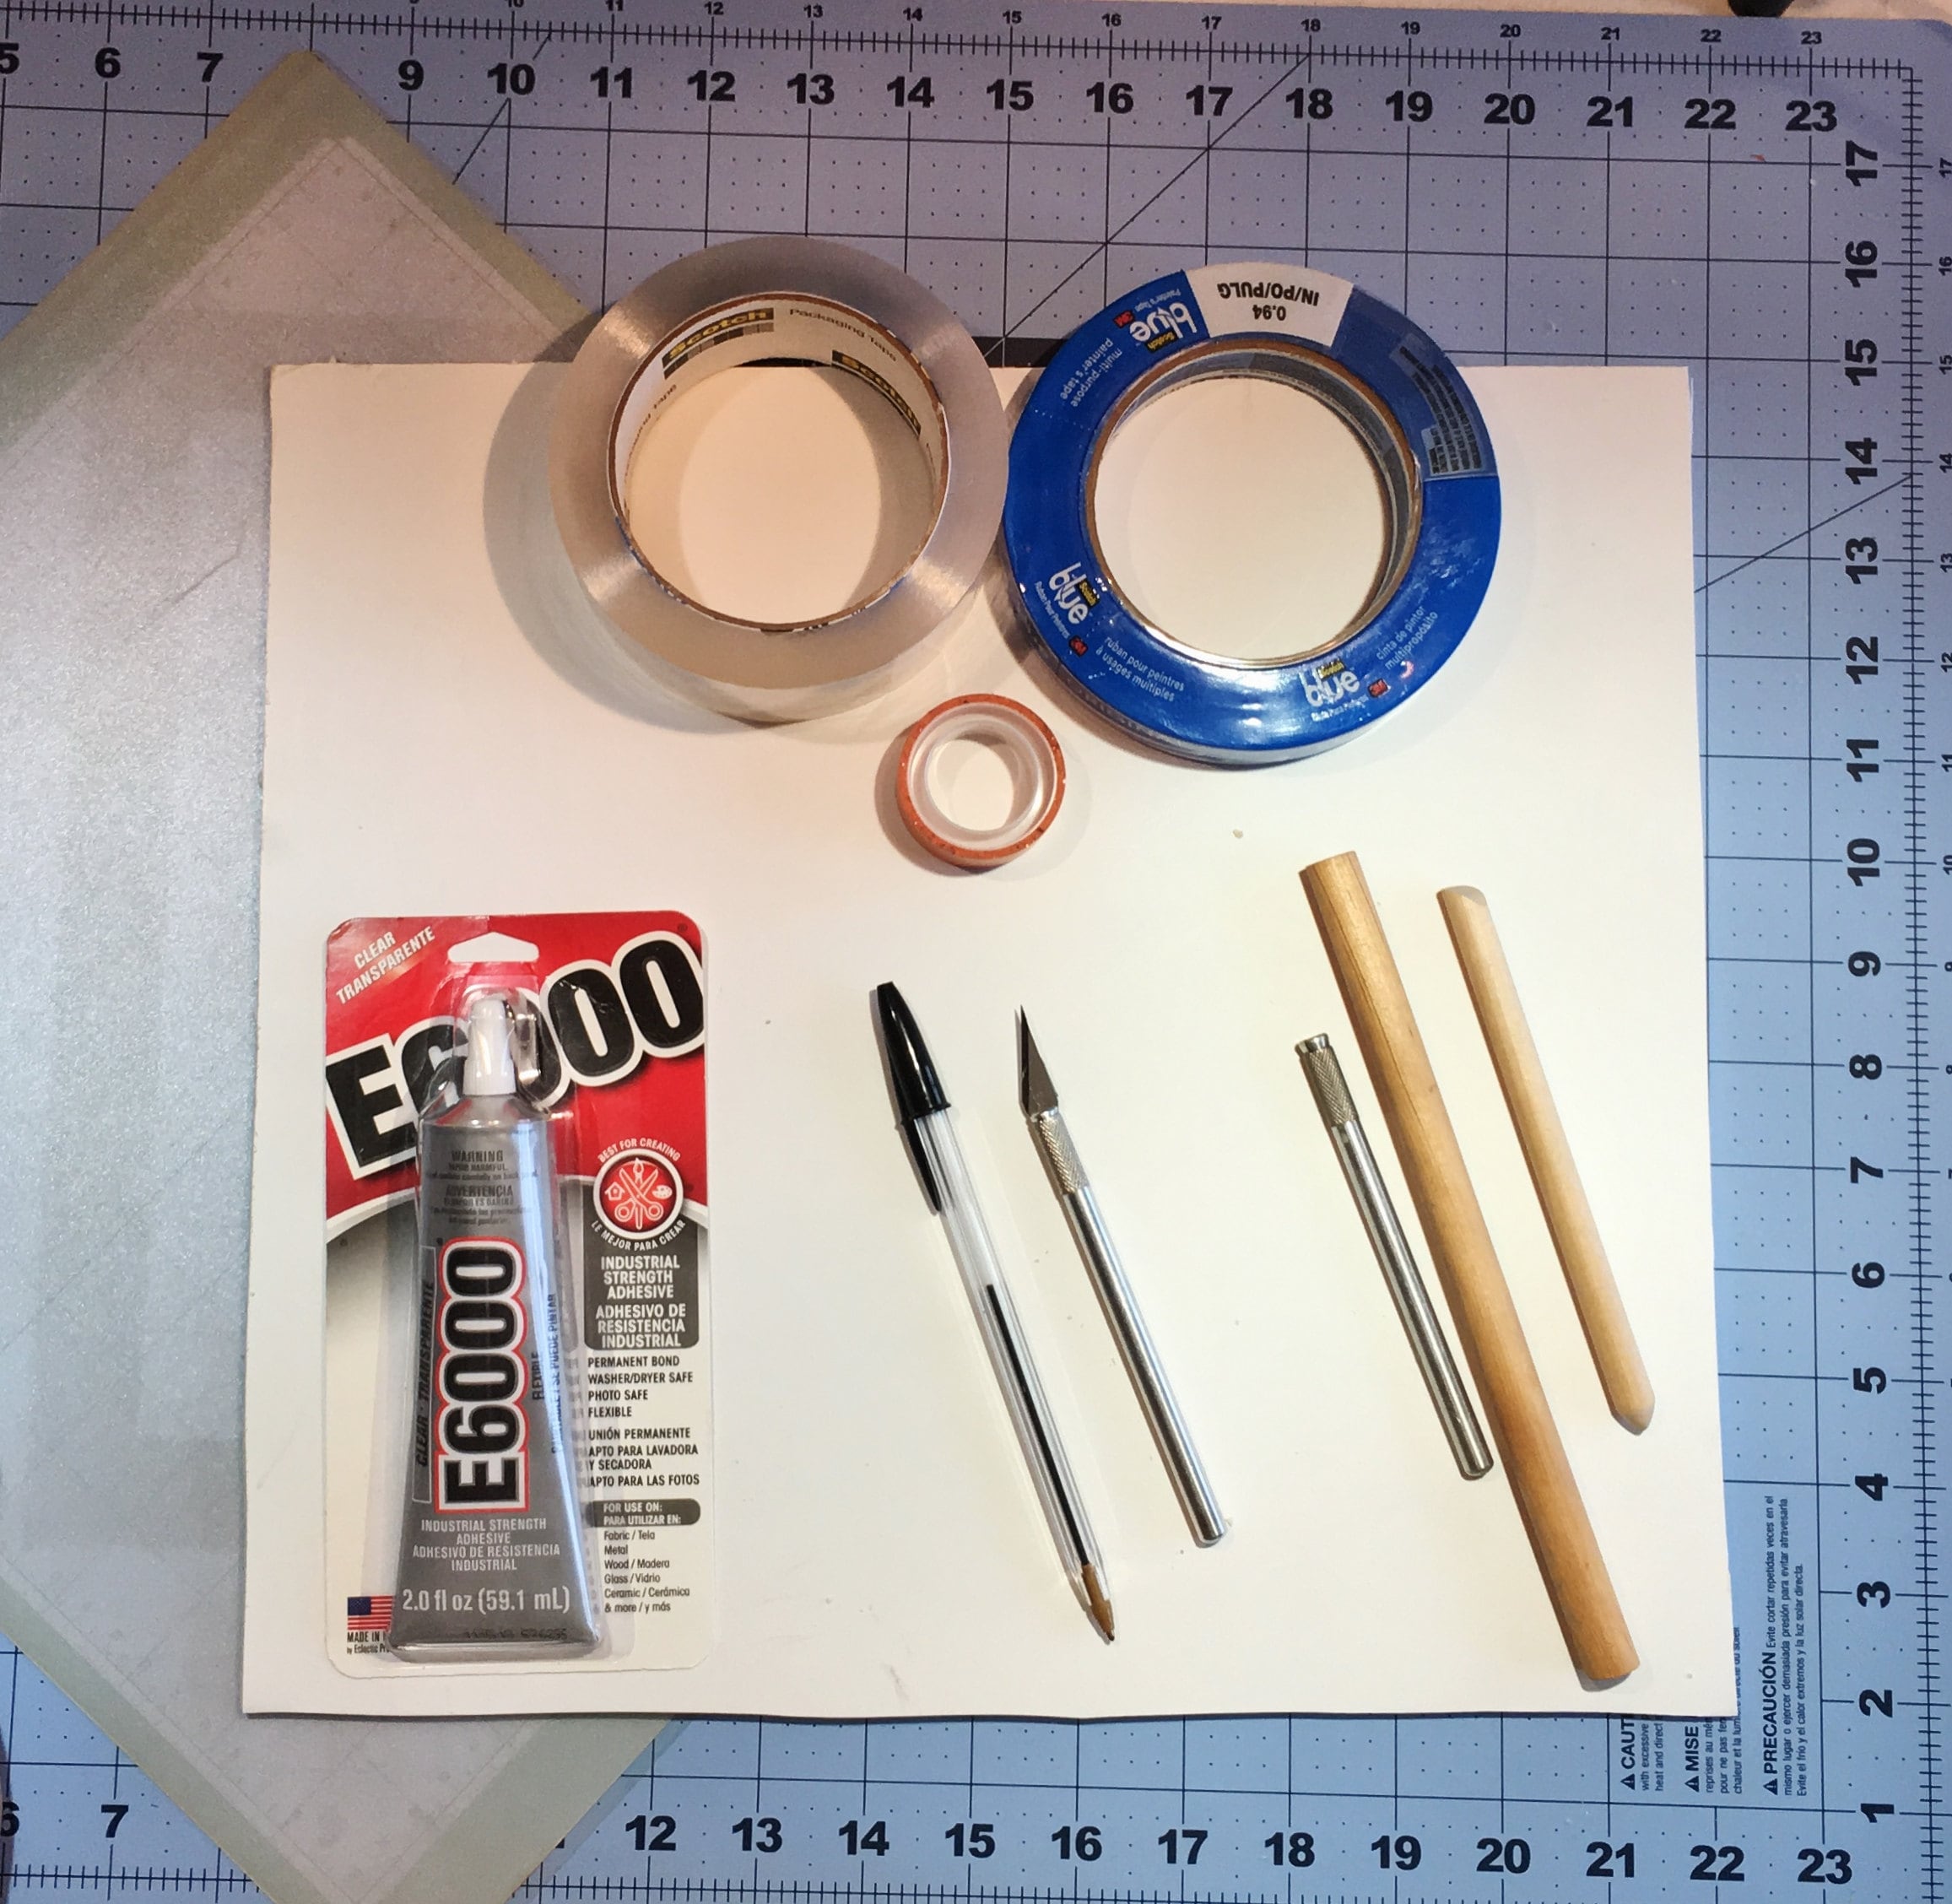
- E-6000 Industrial strength glue
- Pointed craft knife w/ new blade
- Cutting mat
- Wood dowel, round craft knife handle w/ blade removed or other smooth round object like a fat marker
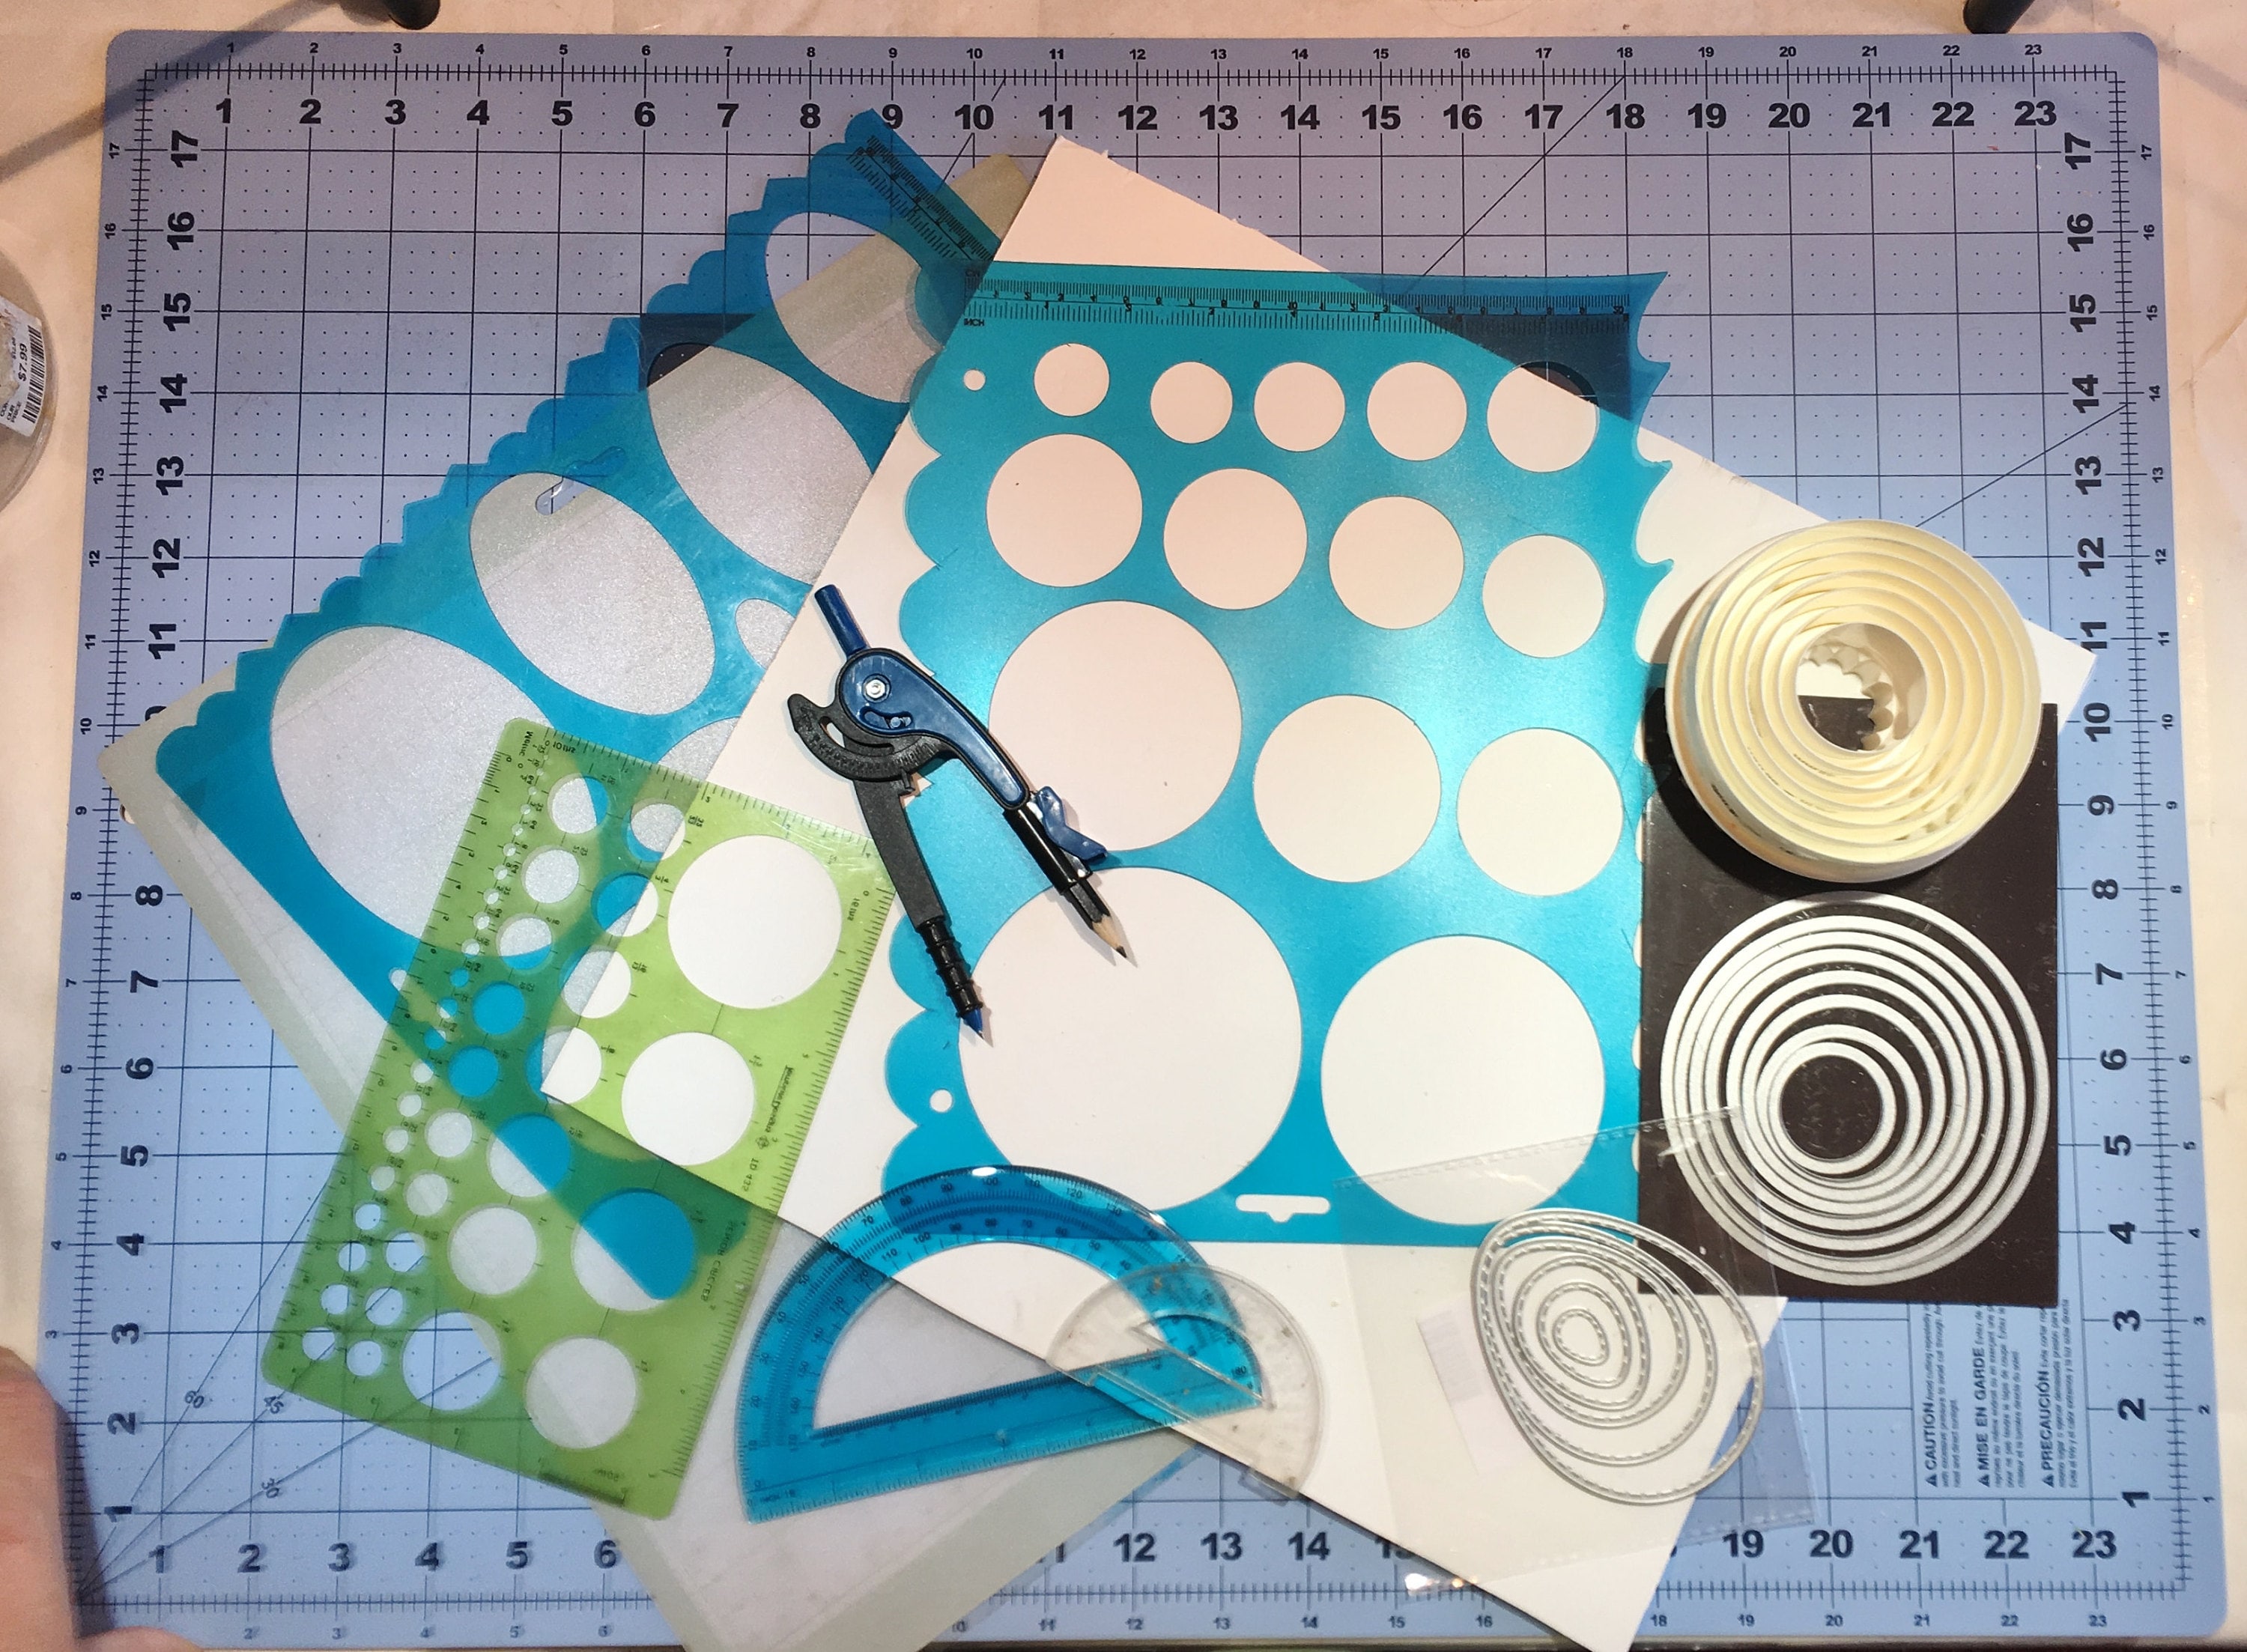
5. Tracing templates in circles, ovals, 1/2 circles and egg shapes (if you want that shape). Suggestions: plastic craft templates, scrapbooking dies, nesting cookie cutters, mechanical drawing templates or tools, protractor or jar lids
6. Pen or pencil
7. Washi, packing or painters tape
8. Paper rosette strips
9. Punched centers in the shape of the rosette you are making
10. Hot glue gun or white craft glue
Ok!
Let's get started!
Watch my video below and then you'll be ready to make your own templates!
Here's some still photos of the highlights from the video
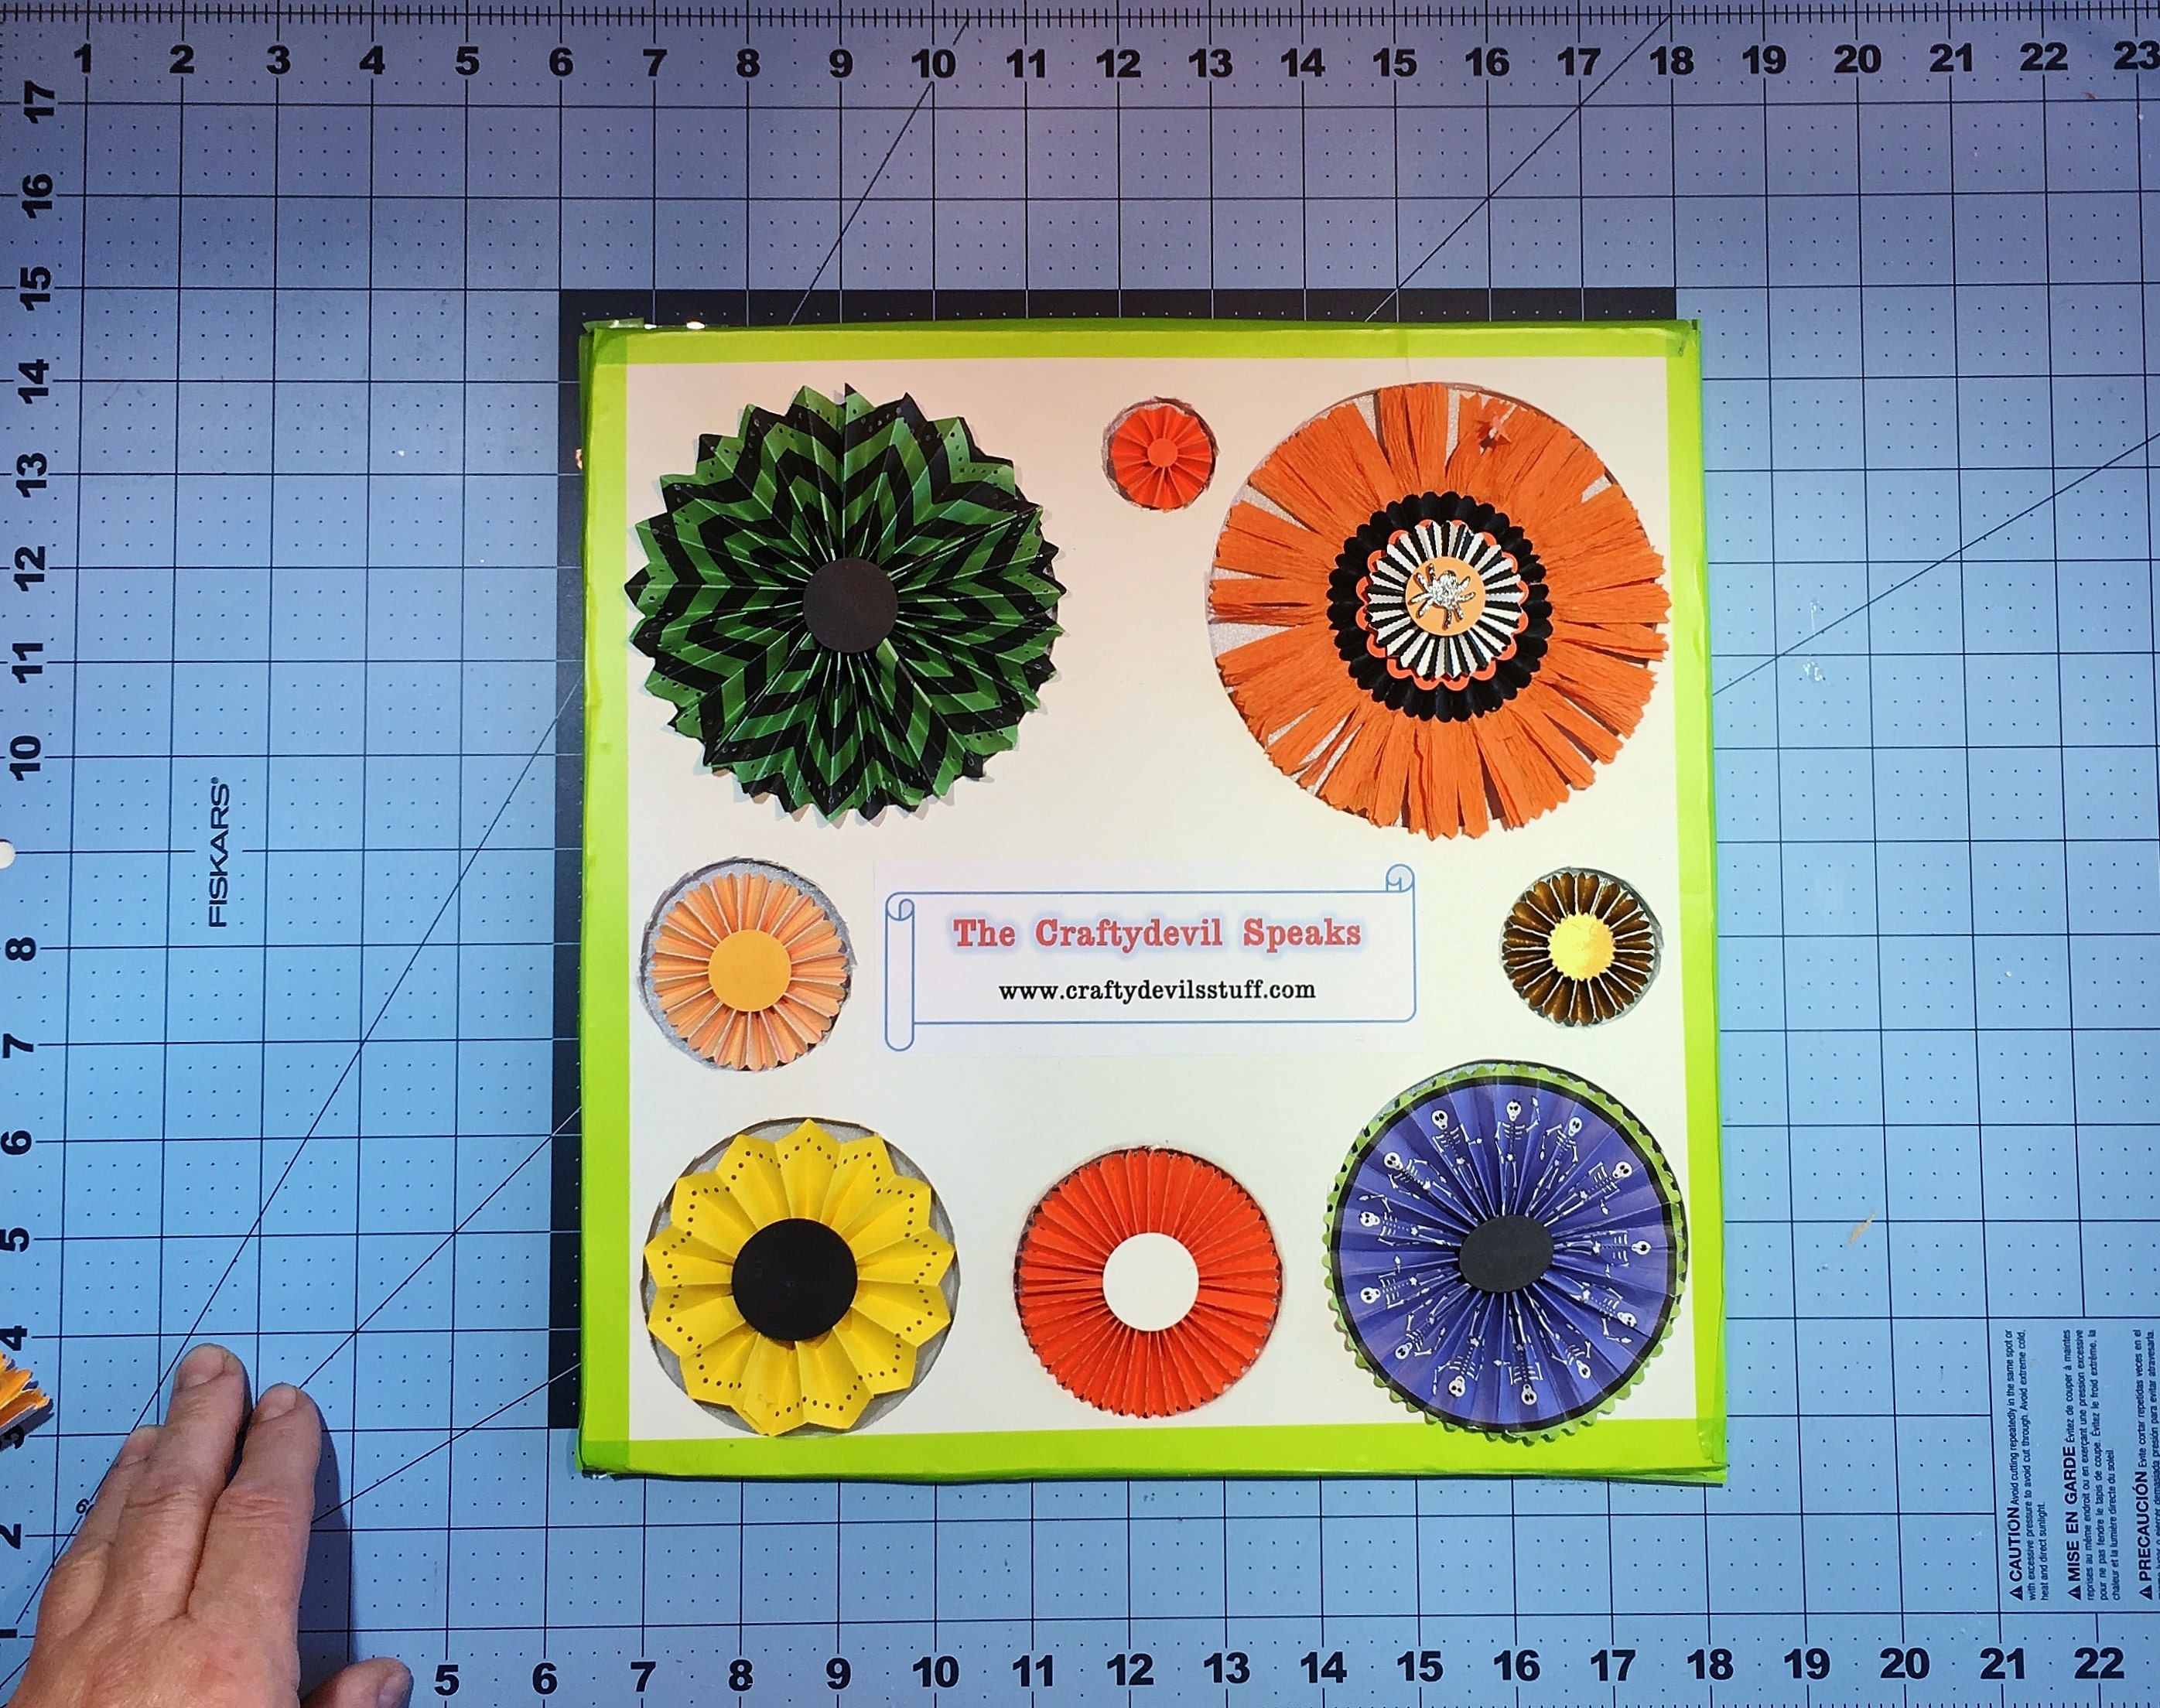
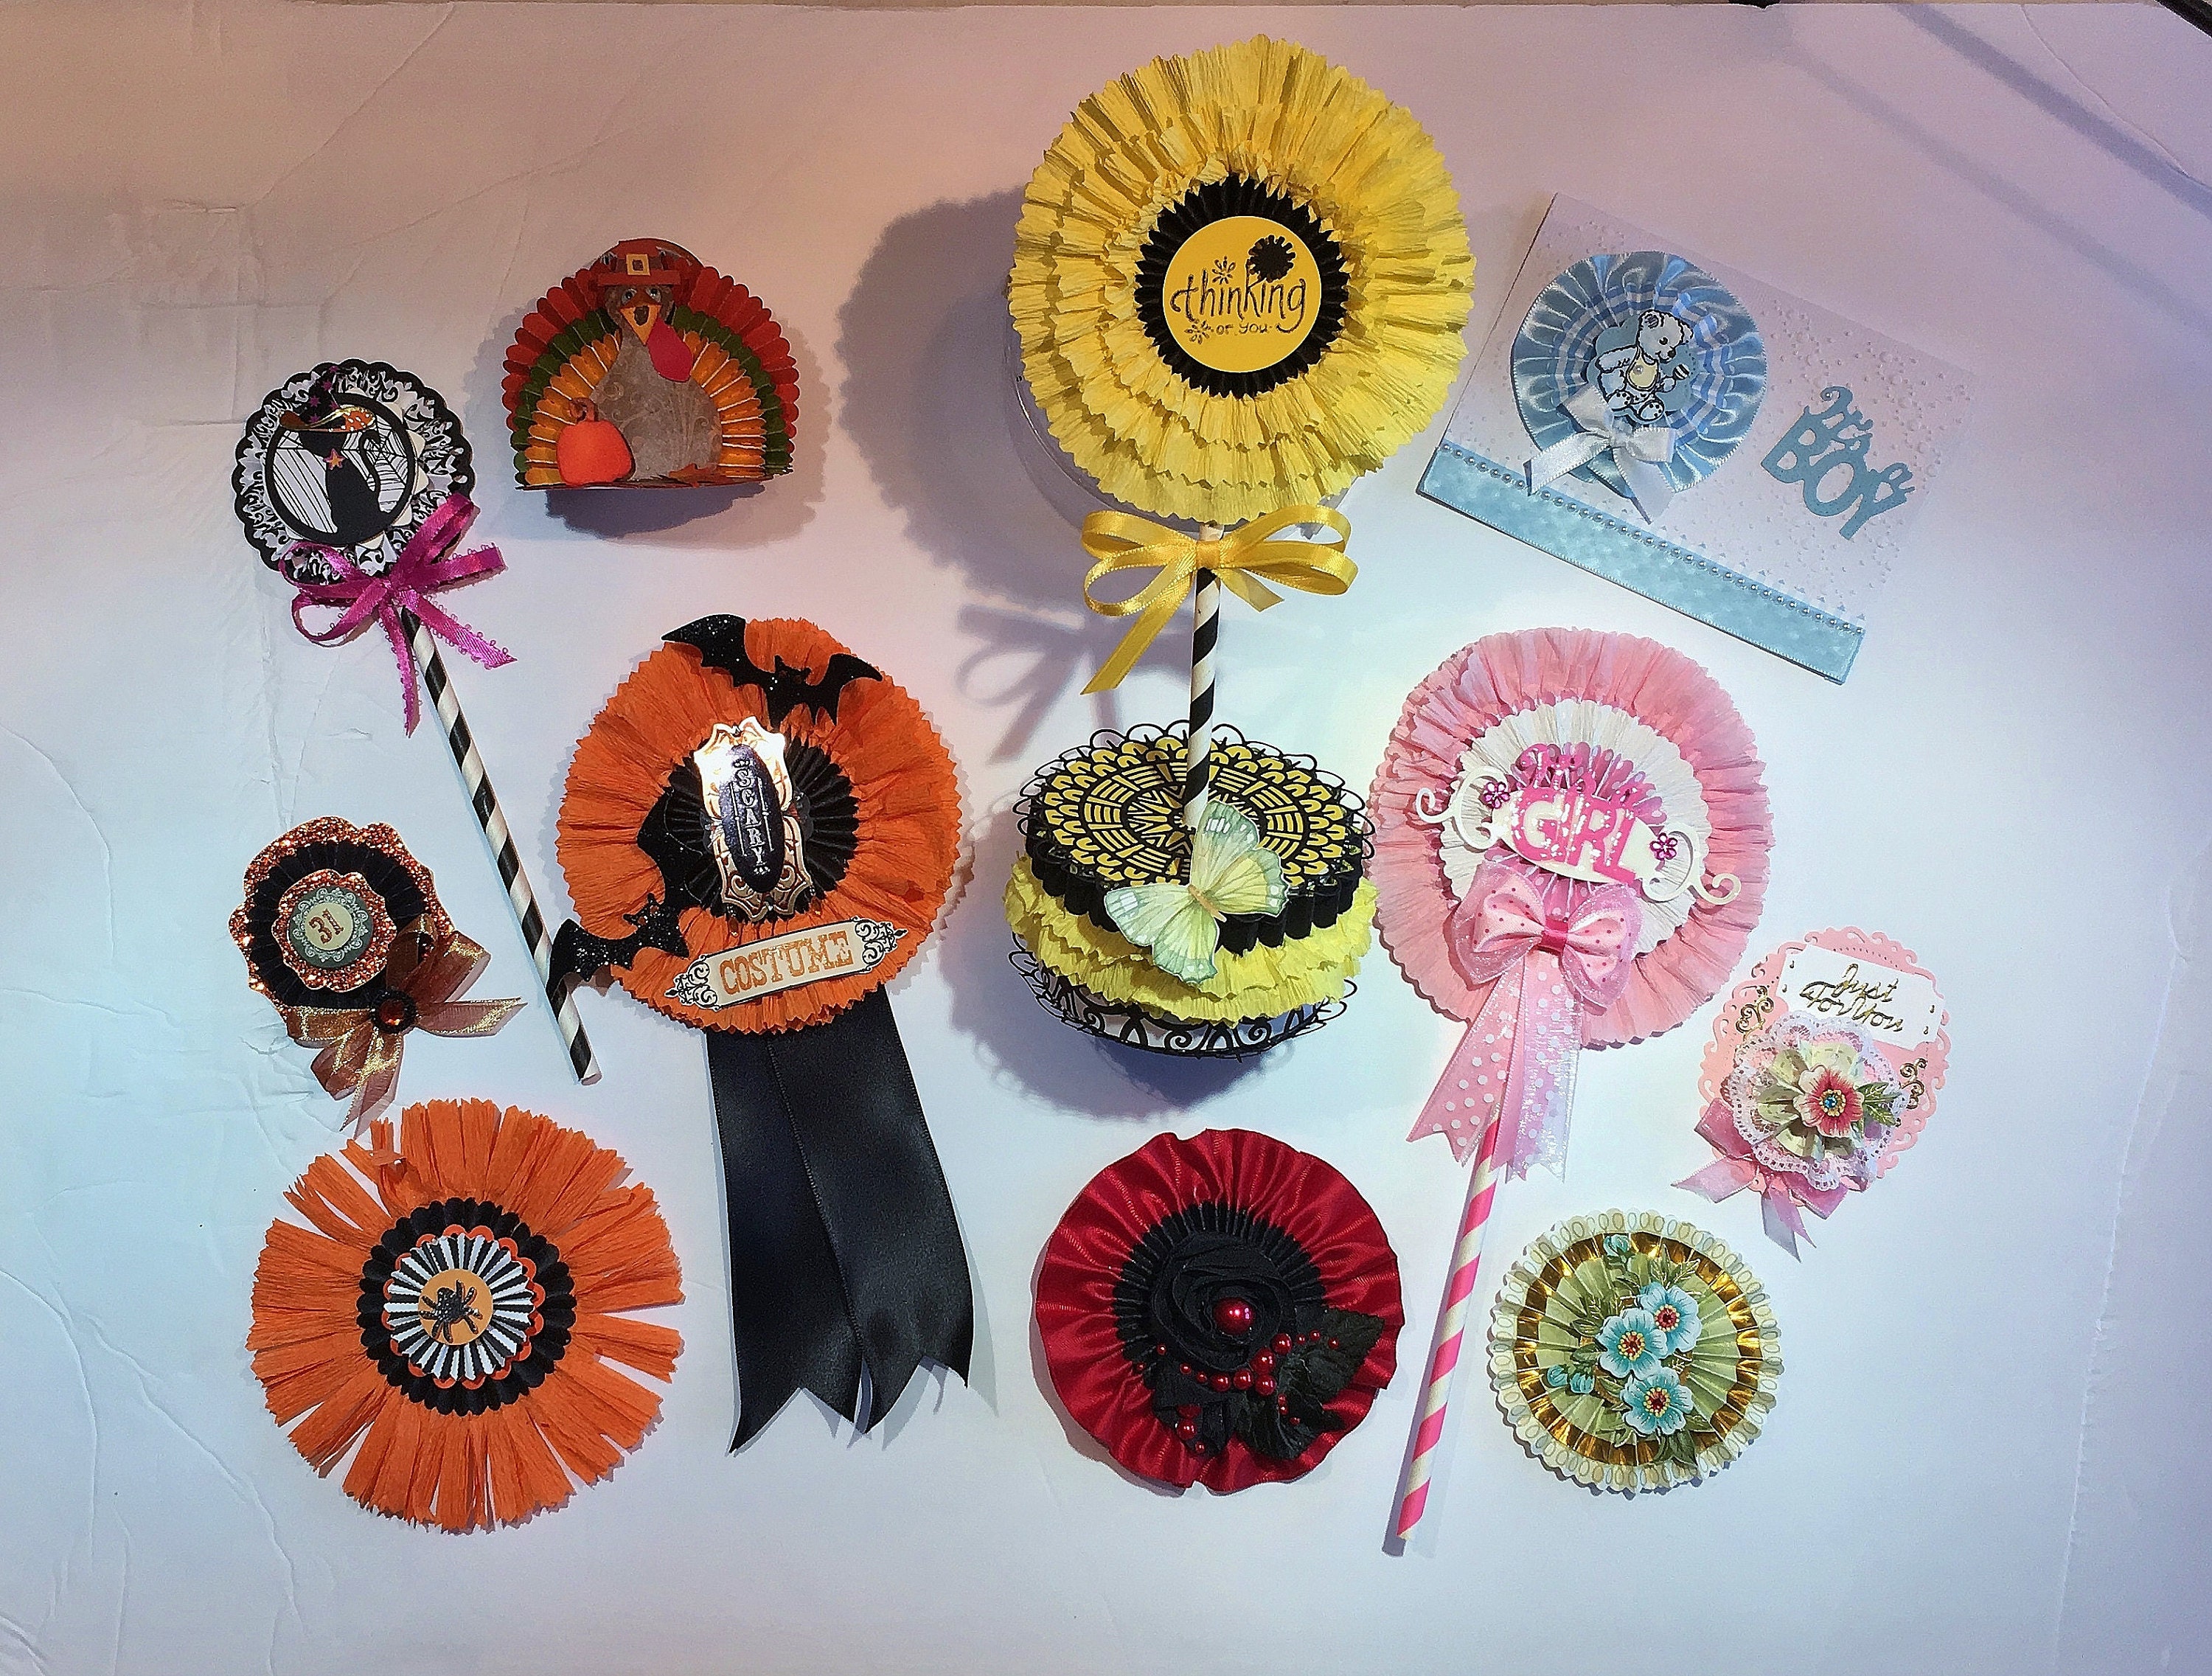
Below are some of the things I will be showing you how to make with your templates in future videos.
I have so many ideas to show you!
So make sure you follow me on YouTube and Twitter to find out when I post them!
See you soon!